 Save to Pinterest
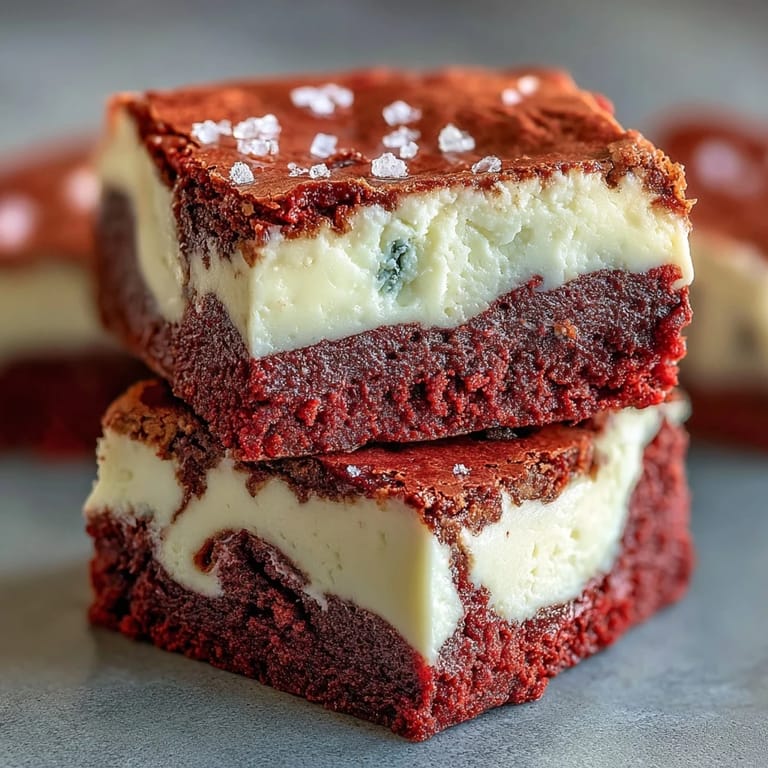
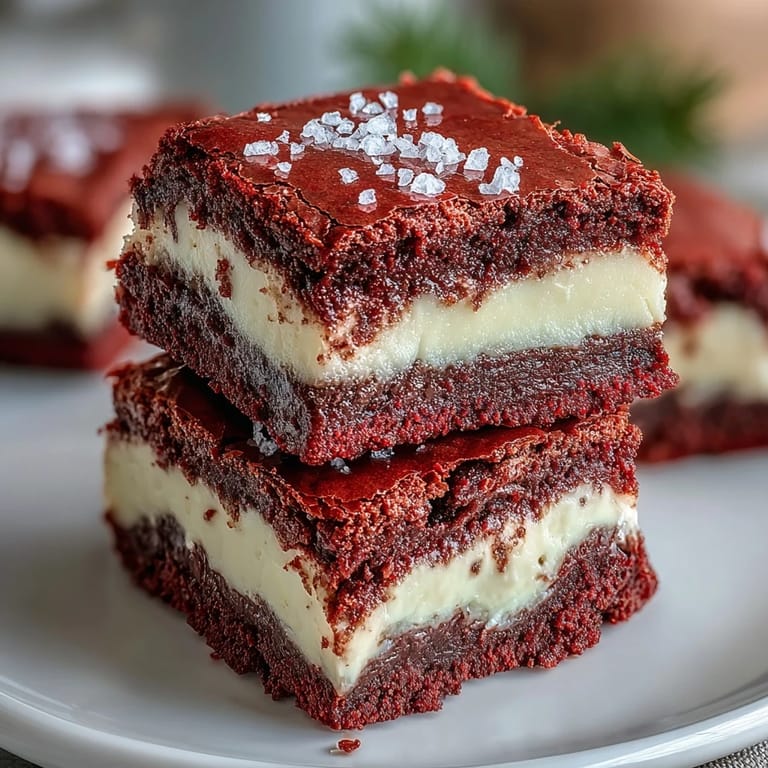
 My sister showed up one December with a pan of these tucked under her arm, still warm and smelling like cocoa and something tangy. She cut a square right there on the counter, and I watched the red velvet swirl into the cheesecake layer like marble. I ate two pieces before asking for the recipe. By New Year, I had made them three times.
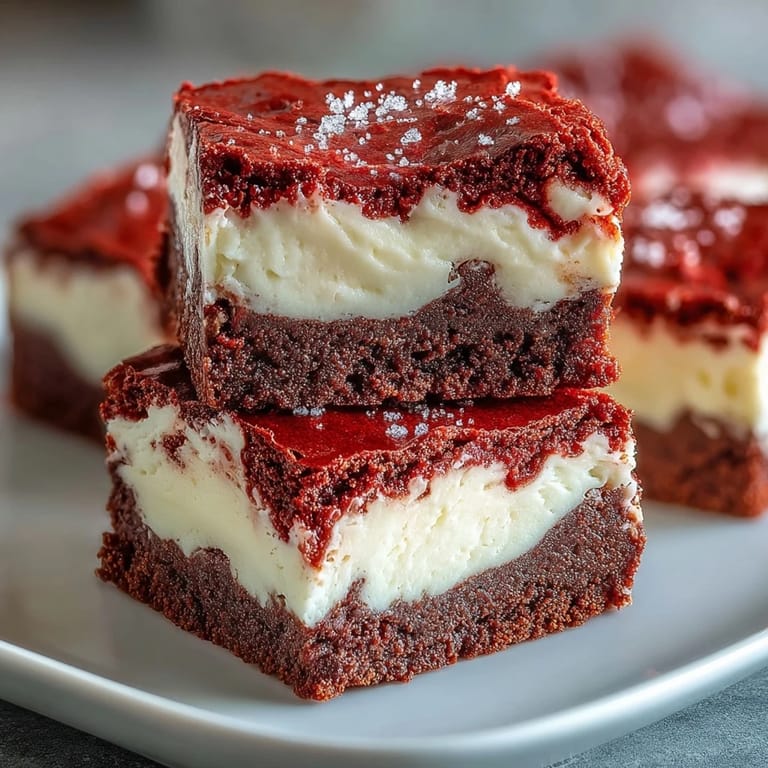
I brought these to a Valentines gathering once, stacked on a white plate. People kept asking if I bought them from a bakery. One friend scraped the pan edges with her finger when she thought no one was looking. I pretended not to notice and slid the recipe across the table to her later.
Ingredients
- Unsalted butter: Melted butter creates that dense, fudgy texture you want in brownies, and using unsalted lets you control the salt level perfectly.
- Granulated sugar: Sweetens both layers and helps the brownie batter stay moist and tender as it bakes.
- Eggs: Room temperature eggs blend more smoothly into the batter and cheesecake, preventing lumps or streaks.
- Vanilla extract: A small amount deepens the flavor of both the chocolate and cream cheese without being obvious.
- Red food coloring: Gel works better than liquid because it keeps the batter thick and gives a richer, more vibrant red.
- All-purpose flour: Just enough to hold the brownies together without making them stiff or dry.
- Unsweetened cocoa powder: Adds deep chocolate flavor that balances the sweetness and complements the tangy cheesecake.
- Cream cheese: Softened cream cheese blends into a silky layer that stays creamy even after baking and chilling.
Tired of Takeout? 🥡
Get 10 meals you can make faster than delivery arrives. Seriously.
One email. No spam. Unsubscribe anytime.
Instructions
- Preheat and prep the pan:
- Set your oven to 175°C and line your baking pan with parchment, letting the edges hang over the sides. This makes lifting the brownies out later so much easier and cleaner.
- Mix the red velvet base:
- Whisk melted butter and sugar until smooth, then beat in eggs, vanilla, and food coloring until the batter turns a deep, even red. Sift in flour, cocoa, and salt, folding gently just until no streaks remain.
- Spread the brownie batter:
- Reserve a quarter cup of the red batter in a small bowl, then spread the rest evenly across the bottom of your prepared pan. Use a spatula to smooth it into the corners.
- Make the cheesecake layer:
- Beat softened cream cheese until fluffy, then mix in sugar, egg, and vanilla until completely smooth with no lumps. Pour this over the brownie layer and spread it gently to cover.
- Create the swirl:
- Drop spoonfuls of the reserved red velvet batter on top of the cheesecake, then drag a knife or skewer through in loops and zigzags. Dont overthink it, random swirls look the most natural.
- Bake until set:
- Slide the pan into the oven and bake for 35 minutes, checking that the center jiggles only slightly when you shake the pan. A toothpick should come out with a few moist crumbs, not wet batter.
- Cool and chill:
- Let the brownies cool completely in the pan on a wire rack, then refrigerate for at least two hours before slicing. Cold brownies cut cleaner and the cheesecake layer firms up beautifully.
 Save to Pinterest
 The first time I pulled these from the fridge and sliced into neat squares, I felt like I had cracked some secret bakery code. My neighbor ate one standing at my kitchen counter and said it tasted like the kind of dessert you order at a restaurant. I wrapped up four more for her to take home and she texted me a photo of the empty container the next morning.
Getting the Swirl Just Right
The swirl is where these brownies go from good to stunning, but it does not need to be perfect. I use the tip of a butter knife and drag it through the dollops in loose S shapes, sometimes crisscrossing, sometimes in wide loops. If you overwork it, the layers blend into mud, so stop after six or seven strokes and trust that it will look beautiful when baked.
Storing and Serving
These brownies keep for up to five days in the fridge, tightly covered. I actually think they taste better on day two when the flavors have melded and the cheesecake has fully set. Serve them cold or let them sit at room temperature for ten minutes before plating if you want a softer, fudgier bite.
Make Them Your Own
Once you have made these a few times, they become a canvas for small tweaks. I have folded white chocolate chips into the brownie batter, swapped the red food coloring for natural beet powder when I wanted to avoid dye, and even added a pinch of espresso powder to deepen the chocolate. All of those variations worked beautifully.
- Try sprinkling mini chocolate chips over the cheesecake layer before adding the red velvet swirls.
- A tiny bit of almond extract in the cheesecake mixture adds a subtle, sophisticated note.
- For holidays, dust the tops lightly with powdered sugar just before serving for a snowy finish.
 Save to Pinterest
 These brownies have become my go-to when I want something that feels special without spending all day in the kitchen. Every time I pull them from the fridge and see those red swirls against the creamy white, I remember why I keep coming back to this recipe.
Recipe Q&A
- → Can I use natural food coloring instead of artificial dye?
Yes, you can substitute with natural red food coloring, though the color may be less vibrant. Beet powder is another option, but use sparingly as it can affect flavor.
- → Why do my brownies have a cakey texture instead of fudgy?
Overmixing the batter or overbaking can create a cake-like texture. Mix just until ingredients are combined and remove from oven when center is barely set with moist crumbs on a toothpick.
- → How do I achieve clean swirls in the cheesecake layer?
Use a butter knife or wooden skewer to gently drag through the batters in a figure-eight or zigzag pattern. Avoid over-swirling, which can muddy the colors together.
- → Can I make these brownies ahead of time?
Absolutely. These brownies actually improve after refrigeration, as the flavors meld together. Make them up to 3 days in advance and store covered in the refrigerator.
- → What's the best way to cut clean brownie squares?
Chill the brownies completely, then use a sharp knife wiped clean between each cut. Warming the knife under hot water and drying it also helps create neat edges.
- → Can I freeze these brownies for later?
Yes, wrap individual brownies tightly in plastic wrap, then place in a freezer bag. They'll keep for up to 3 months. Thaw in the refrigerator overnight before serving.