 Save to Pinterest
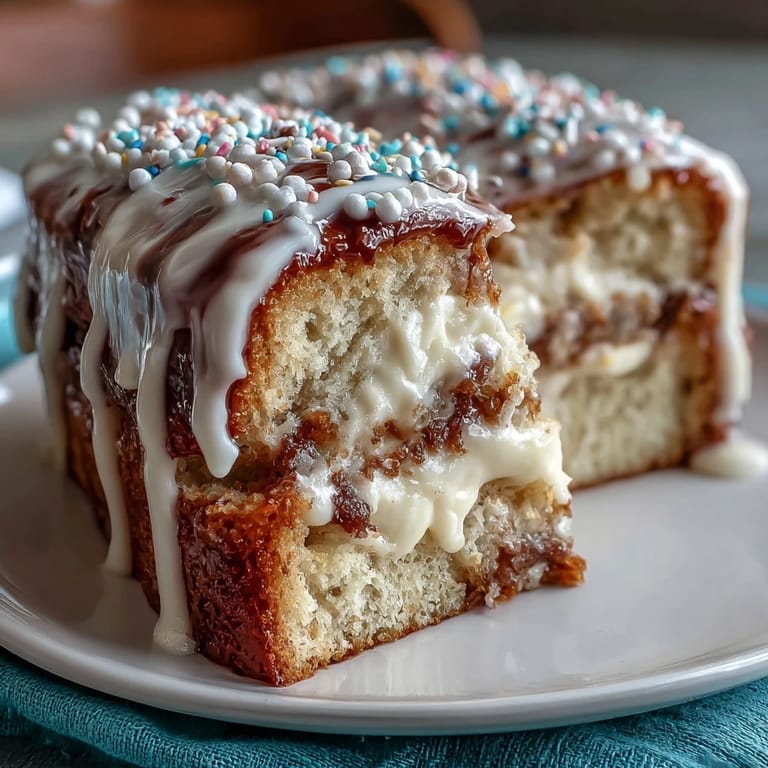
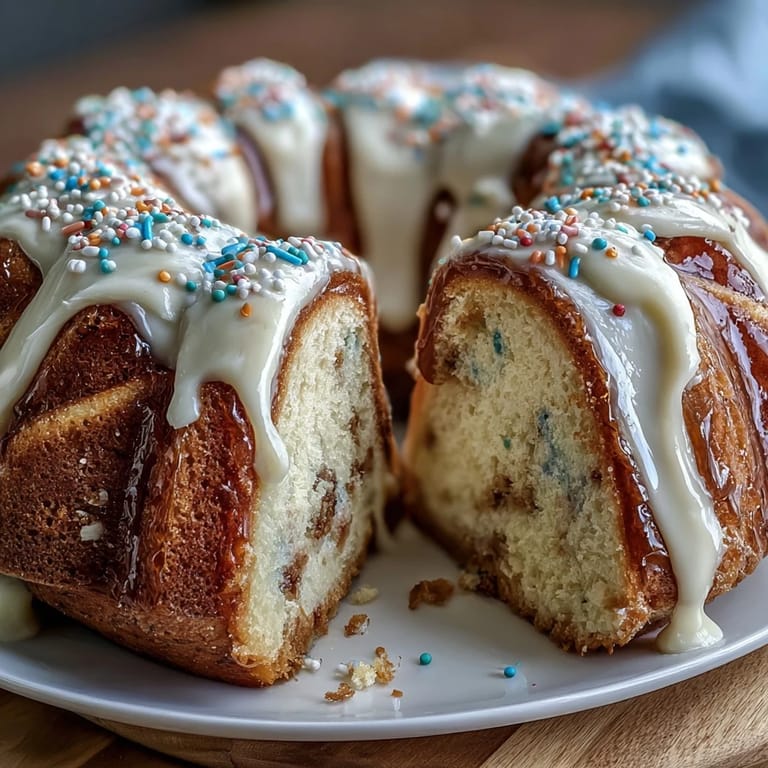
 My cousin texted me three weeks before graduation asking if I could bake something for her party—nothing fancy, just feed a crowd. I'd made sheet cakes before, but this time felt different, like the cake needed to taste as celebratory as the moment itself. That's when I landed on this vanilla cake, the kind that's so reliably good it almost disappears into the background until someone takes a bite and suddenly gets it. Fluffy, not too sweet, with buttercream that actually tastes like real vanilla. The kind of cake that lets the celebration be about the people, not the dessert trying too hard.
Watching my cousin's friends come back for seconds while still wearing their caps and gowns told me everything—this cake wasn't just dessert, it was part of the day they'd remember. Someone's mom asked for the recipe, which never gets old, but what really got me was seeing a slice sitting next to a diploma in someone's photo. That's when I realized this cake had become less about vanilla and sugar and more about marking something that mattered.
Ingredients
- All-purpose flour: Three cups gives you structure without making the cake dense—the ratio matters more than you'd think, so measure by weight if you can.
- Baking powder and baking soda: The baking powder does most of the heavy lifting, but that baking soda balances the sweetness and helps the cake brown beautifully.
- Unsalted butter: Room temperature is non-negotiable here; cold butter won't cream properly and you'll end up with a denser crumb.
- Granulated sugar: Two cups might sound like a lot, but it's what makes the cake stay moist for days.
- Eggs: Also room temperature—they incorporate smoother and trap more air, which means a fluffier cake.
- Vanilla extract: Use real vanilla if your budget allows; the difference is subtle but noticeable in a recipe this simple.
- Whole milk: The acidity and fat content matter; don't swap in skim or it changes the texture.
- Powdered sugar for buttercream: Sift it before measuring or you'll end up with a grainy frosting that feels gritty on your tongue.
- Graduation decorations: Sprinkles are fun, but piping on names or school colors makes it feel personalized without extra effort.
Tired of Takeout? 🥡
Get 10 meals you can make faster than delivery arrives. Seriously.
One email. No spam. Unsubscribe anytime.
Instructions
- Get your mise en place ready:
- Preheat the oven to 350°F and prepare your sheet pan with parchment paper so it's waiting when your batter is mixed. Having everything measured and at room temperature before you start is the difference between a smooth process and scrambling halfway through.
- Whisk the dry team:
- Combine flour, baking powder, baking soda, and salt in a bowl, stirring until evenly distributed. This prevents pockets of baking soda from creating bitter spots in random bites.
- Cream butter and sugar until cloud-like:
- Beat them together for about three minutes until the mixture goes from grainy and pale to light and fluffy. You'll notice the volume increase and the color lighten; that's air getting trapped, which is what makes this cake actually fluffy.
- Add eggs one at a time with patience:
- Beat well after each egg so everything stays emulsified, then add vanilla extract. Rushing this step or adding all the eggs at once risks the batter breaking and becoming grainy.
- Alternate dry and wet in three additions:
- Half the dry ingredients, then half the milk, mix gently, then repeat with the rest. This prevents overmixing and keeps the crumb tender instead of tough.
- Pour and spread evenly:
- Get all the batter into the prepared pan and use a spatula to smooth it so it bakes evenly without high spots or thin edges.
- Bake until golden and set:
- The toothpick test is your friend—insert it in the center and it should come out clean with maybe a crumb or two. The cake will continue cooking slightly as it cools, so don't overbake.
- Cool completely before frosting:
- Warm cake melts buttercream and creates a messy situation; let it sit on a wire rack until it's truly cool to the touch.
- Make the buttercream silky:
- Beat softened butter until creamy, gradually add sifted powdered sugar on low speed to avoid a sugar cloud explosion, then add vanilla, milk, and salt. Finish with high speed for two to three minutes until it's light and fluffy enough to spread easily.
- Frost and decorate with intention:
- Spread buttercream evenly over the cooled cake, then add your graduation decorations while the frosting is still soft enough for them to stick.
 Save to Pinterest
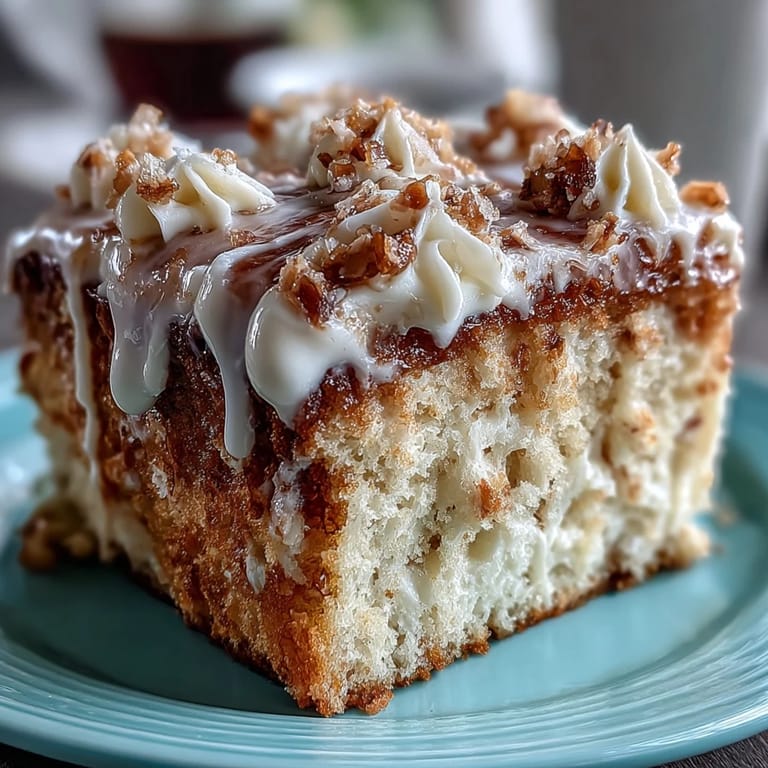
 The night before the party, I cut into the sheet cake just to check it and the crumb was so tender it practically melted on my tongue. That's when I knew this wasn't just a convenient sheet cake—it was the kind that reminds people why vanilla never goes out of style.
Storage and Make-Ahead Strategy
This cake actually gets better after a day because the moisture has time to distribute evenly. You can bake it a full day ahead, cool it completely, wrap the pan in plastic wrap, and leave it at room temperature until you're ready to frost. If you frost it more than a few hours early, the buttercream can absorb moisture from the cake and become less stable, so frost it as close to serving time as you can manage.
Customizing for the Celebration
The beauty of a sheet cake is that it's a blank canvas waiting for your creativity. You can tint the buttercream using gel food coloring in school colors, pipe borders with a piping bag for a fancier look, or keep it simple with scattered sprinkles. Some people add almond extract to the batter for subtle complexity, while others stick with pure vanilla—both are right, it just depends on what the moment calls for.
Scaling Up or Down
This recipe yields 24 generous servings, which is perfect for a graduation party, but you can scale it down by half if you need to feed fewer people. The instructions stay exactly the same, just use a 9x13 inch pan instead of the full sheet pan and reduce baking time by a few minutes. If you need to go bigger, you can double the recipe and bake in two full sheet pans, though you'll need to make more buttercream for frosting.
- Cutting the cake into 24 pieces means roughly 2x3 inch squares, which feel generous without being wasteful.
- If you're piping names or decorations, use a small round tip and practice on a plate first so you feel confident.
- Let the frosted cake sit at room temperature for 15 minutes before serving so the buttercream is soft enough to enjoy instead of cold and stiff.
 Save to Pinterest
 This cake exists to celebrate people who worked hard to get here, and it does that job quietly and well. Bake it with intention and watch how something as simple as vanilla and butter becomes part of someone's favorite memory.
Recipe Q&A
- → What makes the cake so fluffy?
The combination of room-temperature butter beaten with sugar to incorporate air, along with leavening agents like baking powder and baking soda, creates a light and fluffy crumb.
- → Can I add extra flavor to this cake?
Yes, adding ½ teaspoon of almond extract to the batter enhances the flavor and adds a subtle nutty note.
- → How do I know when the cake is fully baked?
Insert a toothpick into the center; if it comes out clean or with a few crumbs, the cake is done baking.
- → Is it possible to make this cake gluten-free?
Yes, substitute all-purpose flour with a 1:1 gluten-free baking blend to accommodate gluten-free diets.
- → How should I store leftover cake?
Cover leftovers at room temperature for one day or refrigerate for up to four days to maintain freshness.
- → Can I customize the decoration colors?
Absolutely, gel food coloring can be added to the buttercream for school colors or other themes.