 Save to Pinterest
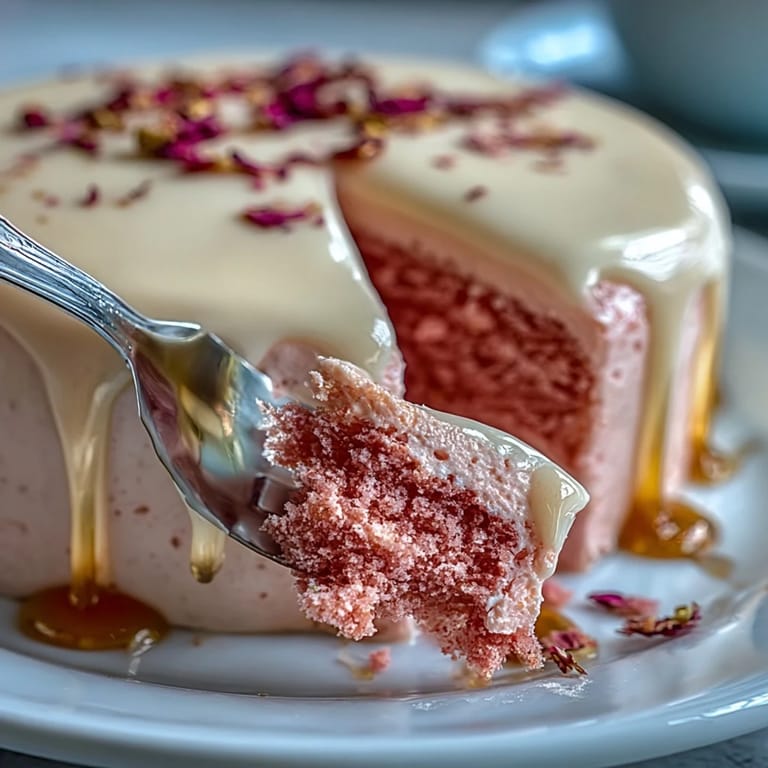
 A faint rosy fragrance floated through my kitchen as I swirled the batter for this Bridal Shower Rosé Velvet Cake, surprised at how the wine shimmered in the bowl. There’s something about the way soft pink streaks mingle with glints of gold that feels like a celebration in itself. This cake first happened on a gray spring afternoon, the air thick with anticipation and laughter from friends sorting ribbons for the big day. As the sponge cooled, the chatter shifted to wedding playlists and memories, the perfect backdrop for a cake destined for sparkle. Every detail, from the airy buttercream to the delicate gold drip, made the whole room buzz with the promise of something special.
One morning I found myself scrambling to finish the gold drip while my sister-in-law called out last-minute game ideas from the living room. I accidentally smudged a drip, tried (and failed) to hide my finger mark, and my niece burst out laughing so hard she had to sit down, proving that perfect cakes are overrated when the day is this sweet.
Ingredients
- All-purpose flour: Makes the crumb tender but not too dense—sifting truly keeps things light.
- Granulated sugar: Balances the subtle bitterness of rosé and enhances that soft pink hue (trust me, don’t skimp).
- Baking soda: Ensures the perfect rise—measure carefully for that just-right fluffy crumb.
- Fine salt: Wakes up the flavors; a tiny bit goes a long way.
- Cocoa powder (unsweetened): Just a smidge gives depth and a gentle velvet finish.
- Vegetable oil: Keeps every bite impossibly moist, even if you make the cake ahead.
- Large eggs, room temperature: Room temp eggs mix in smoother, making the batter silkier.
- Buttermilk, room temperature: Gives a subtle tang while ensuring tenderness throughout—the cake won’t dry out, even chilled.
- Rosé wine: Use a dry, crisp rosé for the softest floral undertones; sparkling works if you’re feeling fancy.
- Vanilla extract: Rounds out the flavors—I always splash in a little extra.
- White vinegar: Reacts with the baking soda (extra lift), and don’t worry, you’ll never taste it.
- Pink or rose gel food coloring: Gel gives intense color without thinning the batter; add gradually until you get the shade that matches your party vibe.
- Unsalted butter, room temperature: For buttercream so rich and fluffy it’ll rival your favorite bakery cake.
- Powdered sugar, sifted: Sifting prevents lumpy frosting, so your swirls come out smooth every time.
- Heavy cream: The secret to a glossy, easy-to-pour drip—don’t substitute with milk.
- White chocolate chips: They melt into a dreamy canvas for gold and set up perfectly.
- Edible gold luster dust: Makes your drip the talk of the party and is completely safe—skip the craft store stuff that isn’t made for cakes.
- Vodka or clear lemon extract: Helps the gold paint glide on smoothly and evaporate quickly, leaving only shimmer behind.
Tired of Takeout? 🥡
Get 10 meals you can make faster than delivery arrives. Seriously.
One email. No spam. Unsubscribe anytime.
Instructions
- Prep your pans and oven:
- Turn your oven to 350°F (175°C), line the pans with parchment, and let the soft buzz of preheating signal that something wonderful is about to happen.
- Blend the dry ingredients:
- Sift together the flour, sugar, baking soda, salt, and cocoa in a large bowl; when you whisk it all up, notice how it feels like powdery pink snow.
- Whisk the wet ingredients:
- In a separate bowl, combine oil, eggs, buttermilk, rosé, vanilla, and vinegar until it's silky and blended; it may look a little odd but that's the magic.
- Make the batter blush:
- Pour the wet mix into the dry, stirring gently until just combined—then swirl in gel coloring until you hit your perfect rosy hue.
- Bake the cakes:
- Split the batter between pans, smoothing the tops; slide them into the oven and breathe in the promise of cake as they rise for 30-35 minutes.
- Cool and turn out the cakes:
- Cool the cakes in their pans for 10 minutes (don’t rush—even if it’s tempting), then pop out and let them rest on a rack until cool to the touch.
- Whip up rosé buttercream:
- Beat butter until cloud-light, then add sifted powdered sugar in stages, finishing with rosé, vanilla, and salt—aim for fluffy but still spreadable.
- Stack and frost:
- Once the cakes are cool, trim if needed; stack with buttercream layers, add a crumb coat, chill, then swath the whole cake with a final, swoopy frosting layer.
- Make the gold drip:
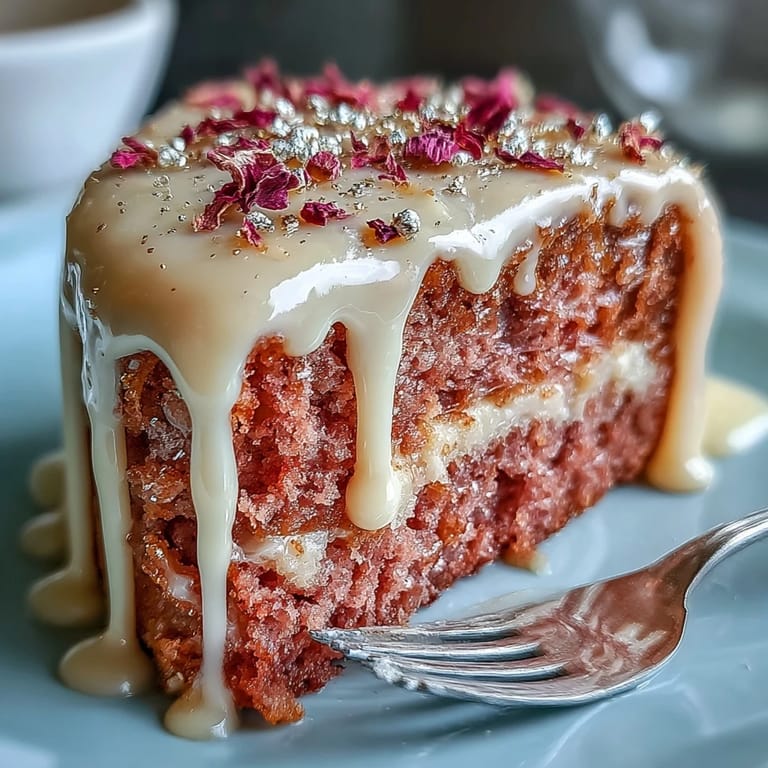
- Melt white chocolate and cream until smooth and glossy; cool it down just slightly before gently spooning over the cake’s edge—watch the drip form (it’s oddly soothing).
- Paint on the gold:
- Mix your luster dust with a little vodka or lemon extract, and gently brush it onto the set drips, transforming the cake into a showpiece.
- Add finishing touches:
- If you’re in the mood, add edible gold leaf, rose petals, or berries—whatever extra sparkle fits the guest of honor.
 Save to Pinterest
 The first time I brought this cake out to the table, everyone paused mid-sentence, and for a split second even the fussiest critic just smiled at the shimmering gold. That moment turned a simple dessert into the centerpiece of celebration, and for me, that’s when baking transforms into something magic.
Getting That Dreamy Pink Shade
Start with just a drop of gel food coloring and build it up slowly; it’s easy to go from ballet pink to cartoonish if you’re heavy handed. Mix gently and pause in good light so you see the real hue—sunlight near the window works best.
Choosing the Right Rosé
Not all rosés are created equal—pick a dry or extra dry bottle for gentle, floral notes that don’t overpower the cake. If you’re unsure, taste it first; if it’s delicious in a glass, it’ll work wonders in the batter and frosting.
Troubleshooting the Gold Drip
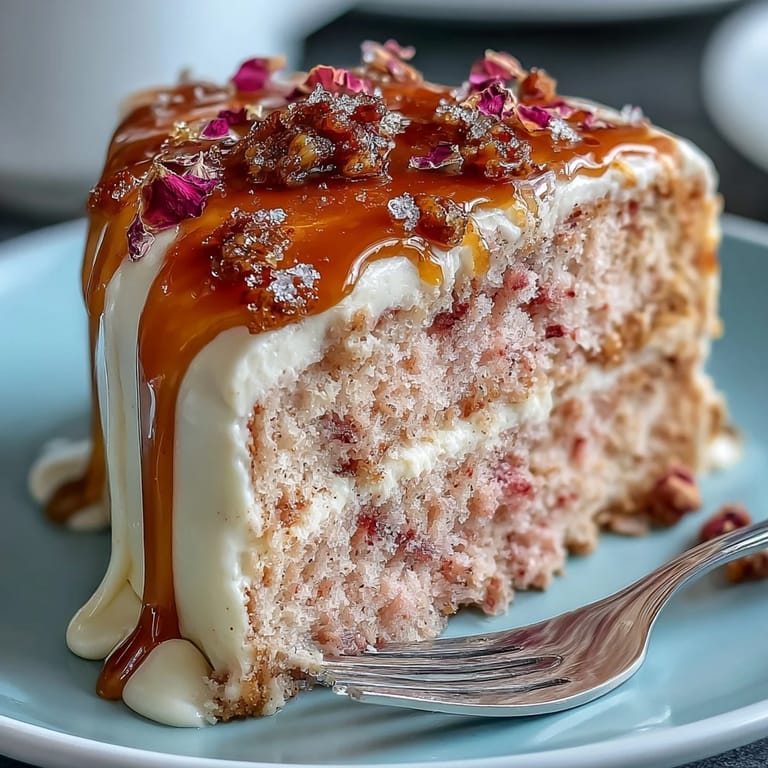
If your gold drip seems thick or reluctant, try adding just a drop more cream—warm it only until glossy, never super hot. A tiny silicone spatula helps control the flow, and sometimes the most delicate drips are the prettiest. If you make a mistake, just cover it with an edible petal—it’s your secret.
- A chilled cake helps the drip set fast.
- Don’t rush the painting—small strokes prevent streaks.
- Always clean your brush between gold applications.
 Save to Pinterest
 Here’s to making memories as golden as your cake, whether your drizzle ends up perfect or beautifully imperfect. May your celebration taste every bit as lovely as it looks.
Recipe Q&A
- → Can I use a non-alcoholic substitute for rosé?
Yes. Substitute with unsweetened grape juice plus a splash of lemon for brightness, or use a concentrated fruit syrup to mimic the flavor without alcohol. Reduce any added liquid elsewhere to maintain batter texture.
- → How do I ensure the gold drip sets without sliding?
Cool the white chocolate drip slightly so it’s warm but not hot before applying. Chill the cake after a thin crumb coat so the final layer is firm; apply the drip while the cake is cold to help it set and control the flow.
- → Which white chocolate works best for the drip?
Use high-quality white chocolate chips or couverture combined with heavy cream for a smooth ganache. Avoid baking chips with high stabilizer content that may create grainy textures when melted.
- → How can I keep the buttercream stable for piping and stacking?
Beat unsalted butter until light and creamy, then add sifted powdered sugar gradually. Incorporate rosé slowly to control consistency; chill briefly between stages if it becomes too soft. For warm environments, refrigerate between steps and use a stabilizer like a touch more sugar or a small amount of cream cheese if needed.
- → Is edible gold luster dust safe, and how should it be applied?
Only use food-grade edible luster dust labeled for consumption. Mix with a clear spirit (vodka or clear lemon extract) or an edible shimmer medium to paint the set drip. Avoid non-edible metallic paints and follow manufacturer safety guidance.
- → Can this be made ahead and how should it be stored?
Yes. Bake and cool layers, then wrap and refrigerate up to 24 hours. Assemble and chill the finished cake; store in the refrigerator and bring to room temperature before serving to improve texture and flavor.