 Save to Pinterest
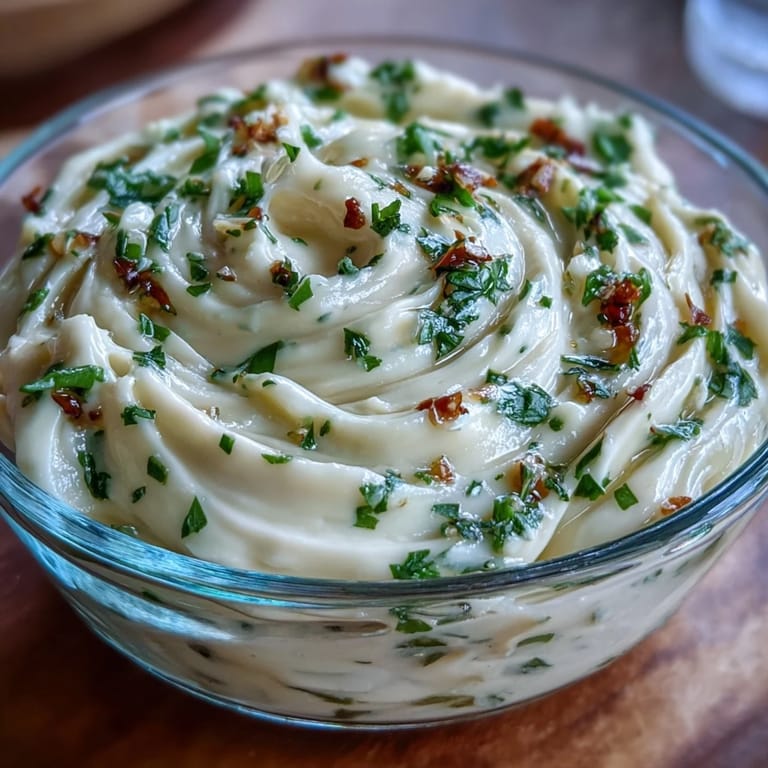
 The first time I attempted garlic aioli, the clatter of whisk against metal echoed through my tiny apartment kitchen. I swore I could smell summer—lemon zest mingling with garlic, brightening the air even more than the sunlight through my window. There was something almost hypnotic about watching the mixture change from a slick puddle to a luscious cream, which always felt a bit magical. That unexpected transformation became my favorite party trick, especially for friends who doubted homemade mayo could rival any restaurant dip.
I still remember making a batch for a casual picnic with two friends: we ended up dipping everything from grilled shrimp to roasted potatoes, and after each bite, someone would mutter, 'This is just unfairly good.' It made me realize how a humble bowl of aioli could elevate even the simplest meal outdoors, and the laughter lingered longer than the dip itself ever did.
Ingredients
- Egg yolk: Using room temperature yolks ensures your aioli emulsifies smoothly and doesn’t break—I learned this after one too many grainy attempts.
- Dijon mustard: Besides flavor, it acts as an emulsifier and gives your mayo extra stability—don’t skip it.
- Fresh lemon juice: It brightens up the richness and can be adjusted to taste—sometimes I squeeze extra for zing.
- Neutral oil (sunflower or canola): Choose a neutral oil so the garlic shines; avoid olive oil unless you want a deeper flavor.
- Garlic cloves: Finely mince or grate for an even, mellow distribution—or roast for a softer touch.
- Sea salt: Essential for seasoning, so taste and adjust once it’s done.
- Black pepper: A few grinds bring subtle heat and balance, especially if you serve it with fries.
Tired of Takeout? 🥡
Get 10 meals you can make faster than delivery arrives. Seriously.
One email. No spam. Unsubscribe anytime.
Instructions
- Whisking the base:
- Start by whisking egg yolk, Dijon mustard, and lemon juice in a bowl, watching the color shift like sunshine as it thickens ever so slightly.
- Slow oil drizzle:
- Trickle in oil drop by drop at first, whisking continuously—listen for the steady rhythm and watch as the mixture turns creamy and pale.
- Building texture:
- Once emulsification happens, you can speed up by pouring the oil in a thin stream; keep whisking until it’s thick and glossy, like whipped silk.
- Adding flavor:
- Stir in minced garlic, salt, and pepper—if you crave a softer garlic taste, try using roasted cloves instead.
- Perfecting & storing:
- Adjust seasoning and acidity to your liking, then spoon it into a jar and refrigerate for up to 3 days.
 Save to Pinterest
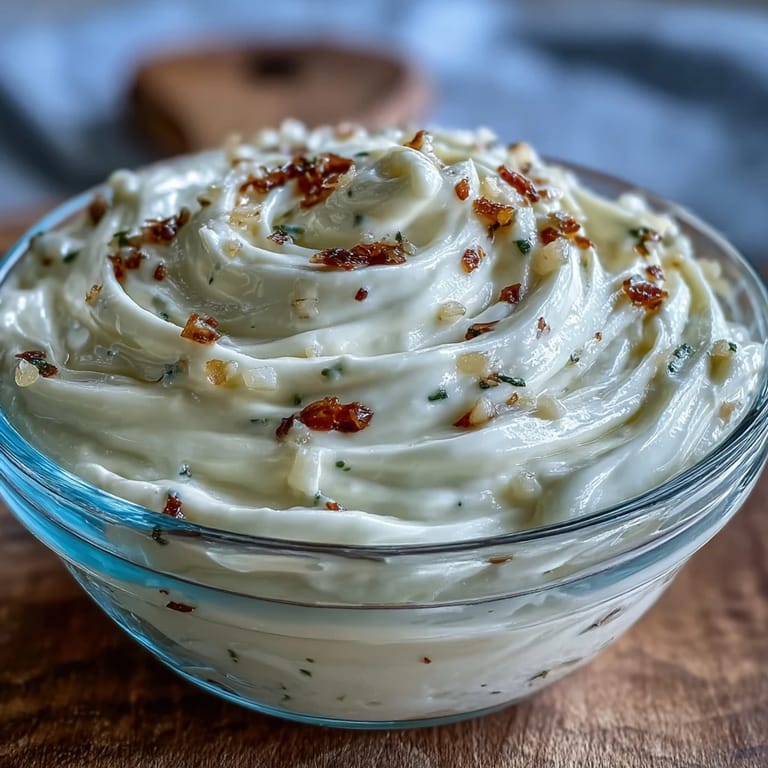
 The moment this aioli became more than just food was at a family dinner when my uncle, usually suspicious of anything 'homemade,' asked for the recipe and scraped the bowl clean. We all laughed as he tried to explain it was 'just the right balance of garlic,' and I realized how food could win over even the most stubborn hearts.
What Makes Aioli Irresistible
There’s something exhilarating about how simple ingredients morph into a creamy, garlicky sauce—it’s as if you coax flavor out of thin air. I’ve come to love the gentle arm ache that comes from whisking by hand, knowing the effort translates to unmatched texture. Sometimes adding smoked paprika or fresh herbs can turn the basic aioli into a whole new affair.
Favorite Pairings & Serving Ideas
This aioli finds itself next to oven-baked fries nearly every Friday night, but it’s also stunning drizzled over grilled fish or tucked into veggie wraps. There’s no need to be precious—spread it on toast, use as crudité dip, or swirl into roasted vegetables for extra richness.
Troubleshooting & Quick Fixes
If your aioli splits, there’s no need to panic: whisk a fresh yolk in a new bowl and slowly add the broken mixture back in for instant recovery. Keep your ingredients at room temperature so they meld perfectly. And if garlic goes too sharp, mellow it with a touch more lemon juice or a tiny pinch of sugar.
- Don’t use olive oil unless you want a strong, peppery taste.
- Let the aioli sit for at least thirty minutes—flavors deepen and mellow.
- Always taste before serving; a little more salt can make all the difference.
 Save to Pinterest
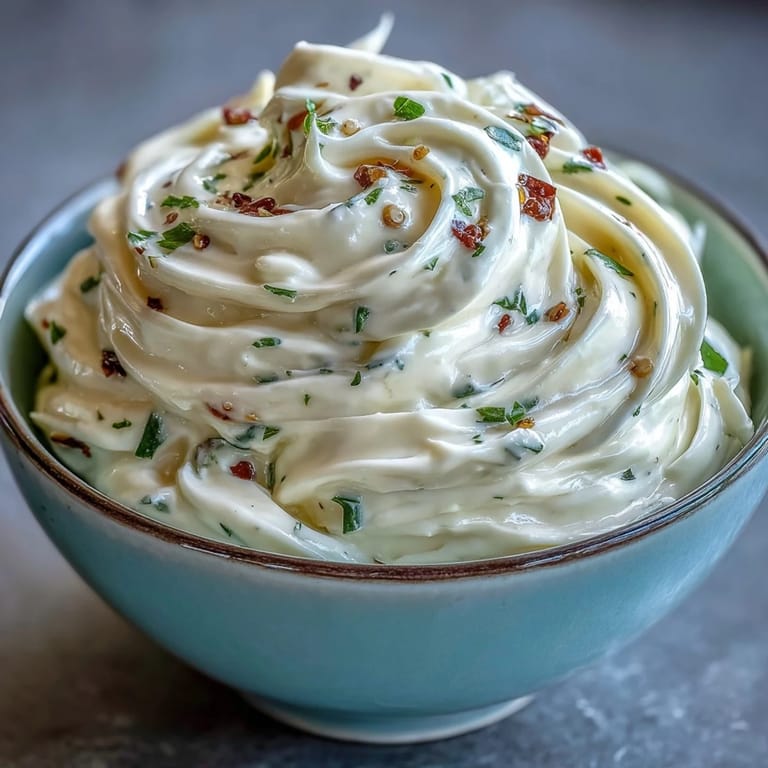
 Homemade aioli turns everyday snacks into something special. Give yourself permission to make a batch just because—you might discover it’s the simplest kitchen magic around.
Recipe Q&A
- → What makes aioli creamy?
The emulsification of egg yolk, mustard, and oil creates a smooth, creamy texture when whisked thoroughly.
- → Can I use roasted garlic instead of raw?
Yes. Roasted garlic offers a milder, sweeter flavor with less bite compared to raw garlic.
- → Is homemade aioli safe to eat?
Using fresh, room-temperature ingredients and refrigerating promptly ensures safety. Consume within three days.
- → Can this aioli be made vegan?
Replace egg yolk with aquafaba and increase mustard slightly for a vegan-friendly version.
- → What can aioli be served with?
It's perfect as a dip for fries, vegetables, seafood, or as a flavorful spread for sandwiches and wraps.