 Save to Pinterest
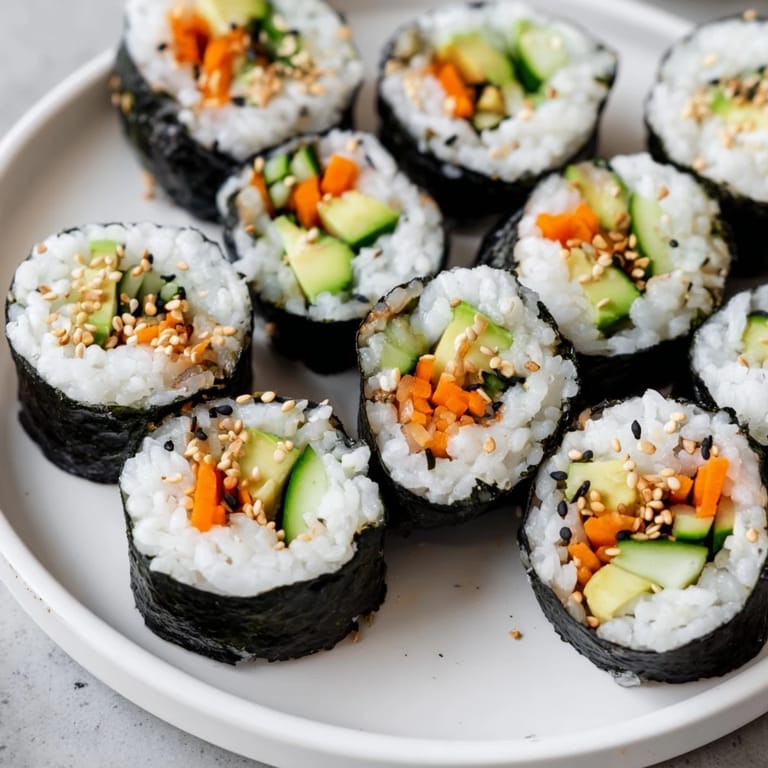
 There's something magical about the moment you first master sushi rolls at home. I was standing in my tiny kitchen on a random Tuesday, sun streaming through the window, when I realized I didn't need to order takeout anymore—I could make these perfect little bundles myself. The avocado was buttery soft, the cucumber snapped between my teeth, and somehow my hands knew exactly how to roll without falling apart. It felt less like following instructions and more like discovering a secret that had been waiting for me all along.
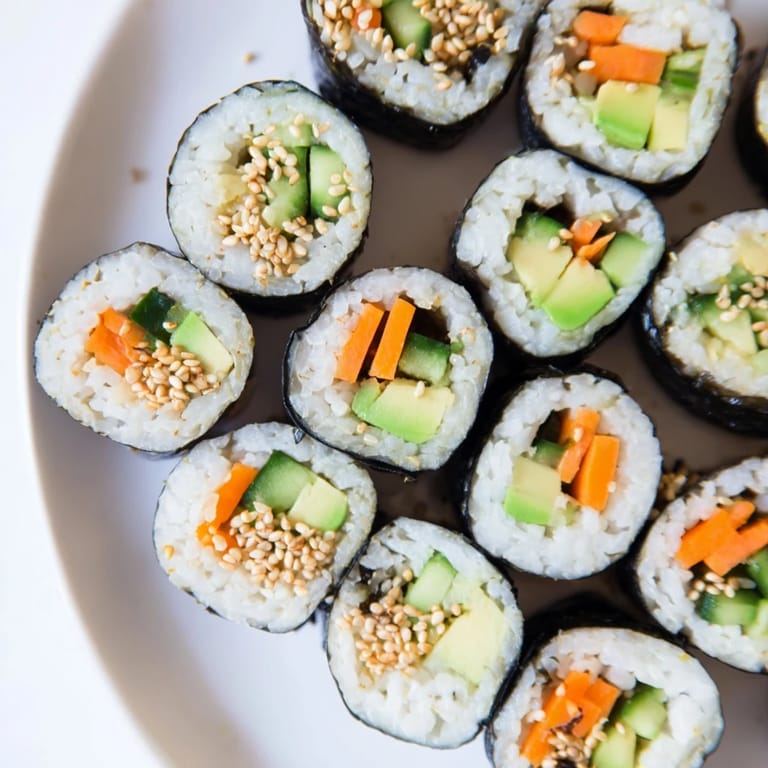
I made these for my friend's impromptu picnic last summer, and she ate four rolls without stopping, then asked me to teach her that weekend. Now every time we see each other, we spend an afternoon rolling sushi and telling stories, our hands moving in rhythm as the cucumber julienne grows into little towers of color. It became less about the food and more about that quiet, shared rhythm—the kind of cooking that brings people together without needing conversation.
Ingredients
- Sushi rice: This is the foundation—use proper sushi rice, not regular jasmine or long-grain, because it has the right starch content to hold these rolls together and actually taste a bit sweet.
- Rice vinegar, sugar, and salt: These three transform plain rice into something that tastes alive and bright, balancing each ingredient so nothing overwhelms the others.
- Avocado: Pick one that yields slightly to pressure but isn't mushy; you want it to slice cleanly without your knife tearing through brown bits.
- Cucumber: Julienne it yourself rather than using pre-cut, so the pieces stay crisp and don't weep water all over your rice.
- Carrot and sesame seeds: These add color and texture, plus that little nutty flavor that makes people ask what you did differently.
- Nori sheets: The seaweed is your wrapper, and quality matters—buy from a store with good turnover so it's still snappy and not stale and papery.
Tired of Takeout? 🥡
Get 10 meals you can make faster than delivery arrives. Seriously.
One email. No spam. Unsubscribe anytime.
Instructions
- Rinse and prepare the rice:
- Run cold water over the rice, rubbing it gently between your fingers until the water runs clear—this removes excess starch that would make your rolls mushy and glue-like.
- Cook with intention:
- Combine the rinsed rice with water, bring to a boil, then drop to a low simmer, covered, for 18-20 minutes. Let it rest for 10 minutes after removing from heat; this is non-negotiable, as it lets the rice finish cooking in its own steam and become fluffy instead of dense.
- Season the warm rice:
- Warm the vinegar, sugar, and salt together (don't boil), then gently fold it into the rice with a wooden spoon or shamoji, working quickly so the rice absorbs the seasoning while it's still warm but not so quickly that you crush each grain.
- Cool completely:
- Spread the seasoned rice on a sheet pan or large plate and let it come to room temperature—warm rice is harder to work with and will tear the nori.
- Set up your rolling station:
- Place your bamboo mat on a flat surface, cover it with plastic wrap, and have a small bowl of water nearby for your fingers and the nori border.
- Layer with precision:
- Place one nori sheet, shiny side down, on the mat. With wet hands, spread about a quarter of the cooled rice evenly over the nori, leaving about an inch uncovered at the top—this border is how you'll seal the roll, so don't skip it.
- Build your filling line:
- Arrange your avocado, cucumber, and carrot in a thin, tight line across the rice, about an inch from the bottom edge. Sprinkle sesame seeds if you're using them, then step back and look—it should look almost too simple, like you're underfilling it, but trust this.
- Roll with the mat:
- Using the edge of the mat closest to you, lift and roll the nori over the filling, pressing gently with your fingers through the mat to keep everything compact and snug. Roll away from you steadily, peeling back the mat as you go, until you reach that bare rice border at the top.
- Seal the edge:
- Wet that top border of rice lightly with your damp finger, then finish rolling so the wet rice acts like glue, sealing the whole roll into a seamless cylinder.
- Slice with a sharp, damp knife:
- Use a very sharp knife dipped in water, cutting straight down with one smooth motion rather than sawing back and forth—sawing will squeeze out all the liquid and destroy the texture.
- Serve immediately:
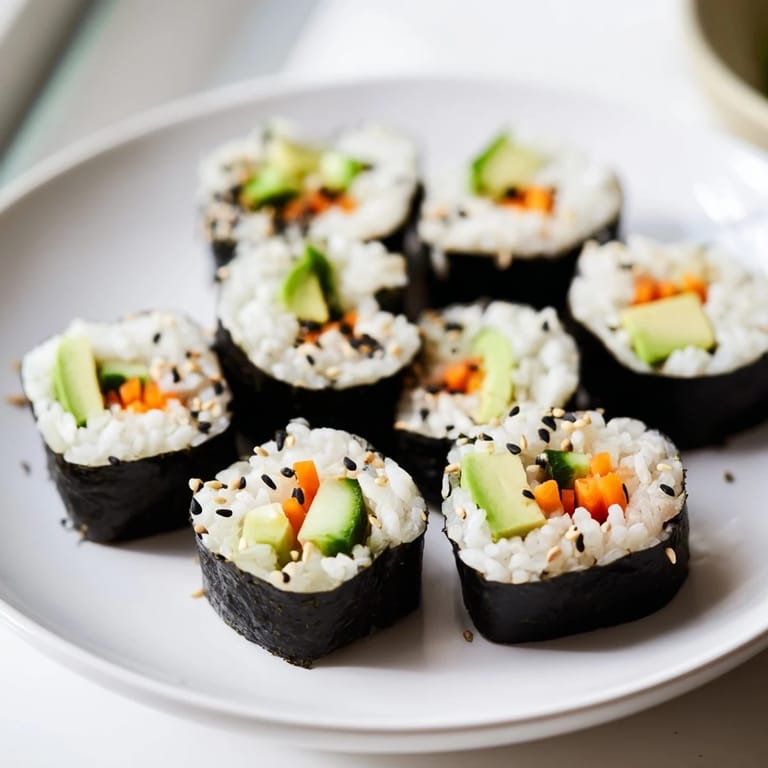
- Arrange the sliced rolls cut-side up on a plate and serve right away with soy sauce, pickled ginger, and wasabi on the side.
 Save to Pinterest
 These rolls changed the way I think about cooking for myself. There's something deeply satisfying about making restaurant-quality food in your own kitchen with ingredients you can pronounce, knowing exactly what went into it and why it tastes so good. It stopped being about impressing anyone and started being about the simple joy of hands working with fresh ingredients.
Prep Work Sets You Free
The actual rolling part is maybe five minutes of work, but spending time before you start—washing rice, julienning vegetables evenly, seasoning the rice while it's still warm—is what makes the whole process flow. I learned this the hard way by trying to chop vegetables while also juggling a hot pot of rice, and it was chaos. Now I line everything up like a sushi bar setup, and my hands barely have to think about what to do next.
The Rice Is Everything
You can use the most beautiful avocado and the crispest cucumber in the world, but if your rice isn't right, the whole thing falls apart. I've eaten sushi at places that charge fifteen dollars a roll because they understand this one thing. The rice needs to be fluffy but sticky enough to hold together, seasoned enough to taste bright but not so much that it overshadows the vegetables. Getting this right is honestly the only hard part of this entire recipe, and once you nail it, you'll feel invincible.
Making It Your Own
The beauty of this recipe is that it's a template, not a rulebook. Once you understand how the rice holds everything together and how to roll without crushing it, you can build whatever you're craving that day.
- Roasted red pepper adds sweetness and a pretty stripe of color running through the center of each roll.
- Thin slices of pickled radish bring a sharp, tangy note that cuts through the richness of the avocado perfectly.
- Crispy baked tofu gives you protein and a satisfying texture that makes this a complete meal instead of a snack.
 Save to Pinterest
 Making sushi at home is one of those skills that feels fancy but isn't actually complicated, and once you do it, you'll never order takeout sushi again—not because it's cheaper, but because yours will taste better. That's the magic of cooking something with your own hands and tasting the care that went into it.
Recipe Q&A
- → What type of rice is best for these rolls?
Sushi rice or short-grain rice works best as it becomes sticky when cooked, helping the rolls hold their shape.
- → Can I add other vegetables to these rolls?
Yes, adding bell peppers, radish, or carrot sticks can provide extra crunch and flavor.
- → How do I prevent the rolls from falling apart?
Using a bamboo mat to roll tightly and moistening the nori edge with water helps seal and maintain the roll's shape.
- → Is there a gluten-free dipping sauce option?
Use tamari instead of regular soy sauce for a gluten-free dipping sauce alternative.
- → Can these rolls be made ahead of time?
It's best to prepare and assemble shortly before eating to maintain freshness and prevent sogginess.